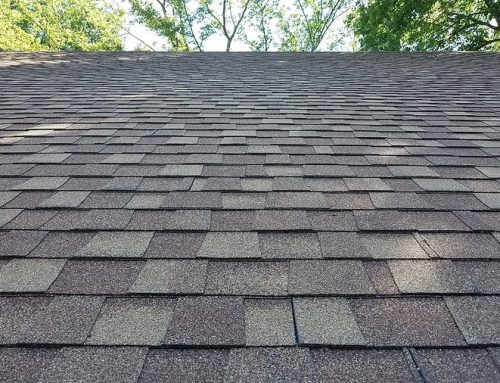
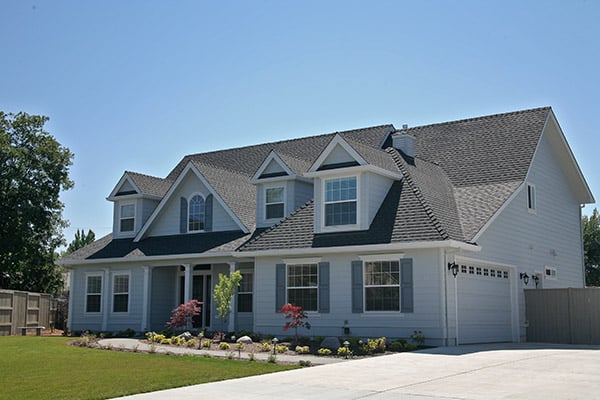
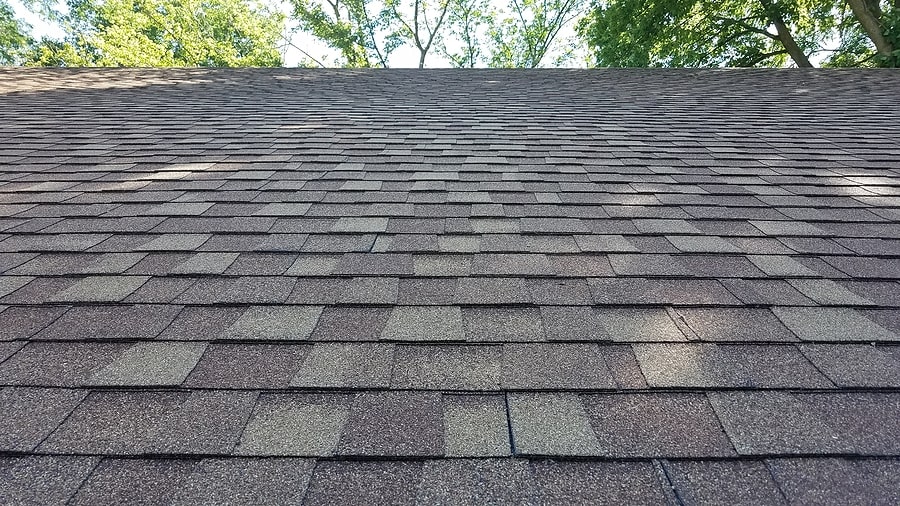
A Roofing Contractor in Des Moines Explains Installing Flashing Around a Chimney In 8 Important Steps – If you ask the best roofer in Des Moines what part of their job gives them the most fits, they might respond by saying, “The Flashing.” Although the flashing can be very frustrating for a roofing contractor in Des Moines to deal with, it serves a very important role in the roof’s overall functionality.
The flashing is a critical part of a chimney system because it keeps moisture from getting into the ceiling. When the flashing is not installed properly, it can lead to ceiling damage, drywall issues, and potentially harm your fireplace or wood stove. When water gets inside the stove pipes, it can cause rust and damage the entire unit permanently.
Today we’ll be looking at some important steps a roofing contractor in Des Moines will take to ensure that the flashing is properly installed. Remember, this is just for information purposes only. We don’t recommend doing this on your own if you are not a professional. Please reach out to a professional Des Moines roofing company to install or repair your flashing.
Step 1:
After your hole is cut, you will need to test fit the pipe to ensure there is a 2” clearance to combustible materials all the way around the pipe.
Step 2:
Remove the shingles from the area where the flashing will be installed. Do not tear any of the shingles during this process.
Step 3:
Make sure your flashing is perfectly centered over the hole in your roof. It is important that you have everything centered before it is permanently secured in place.
Step 4:
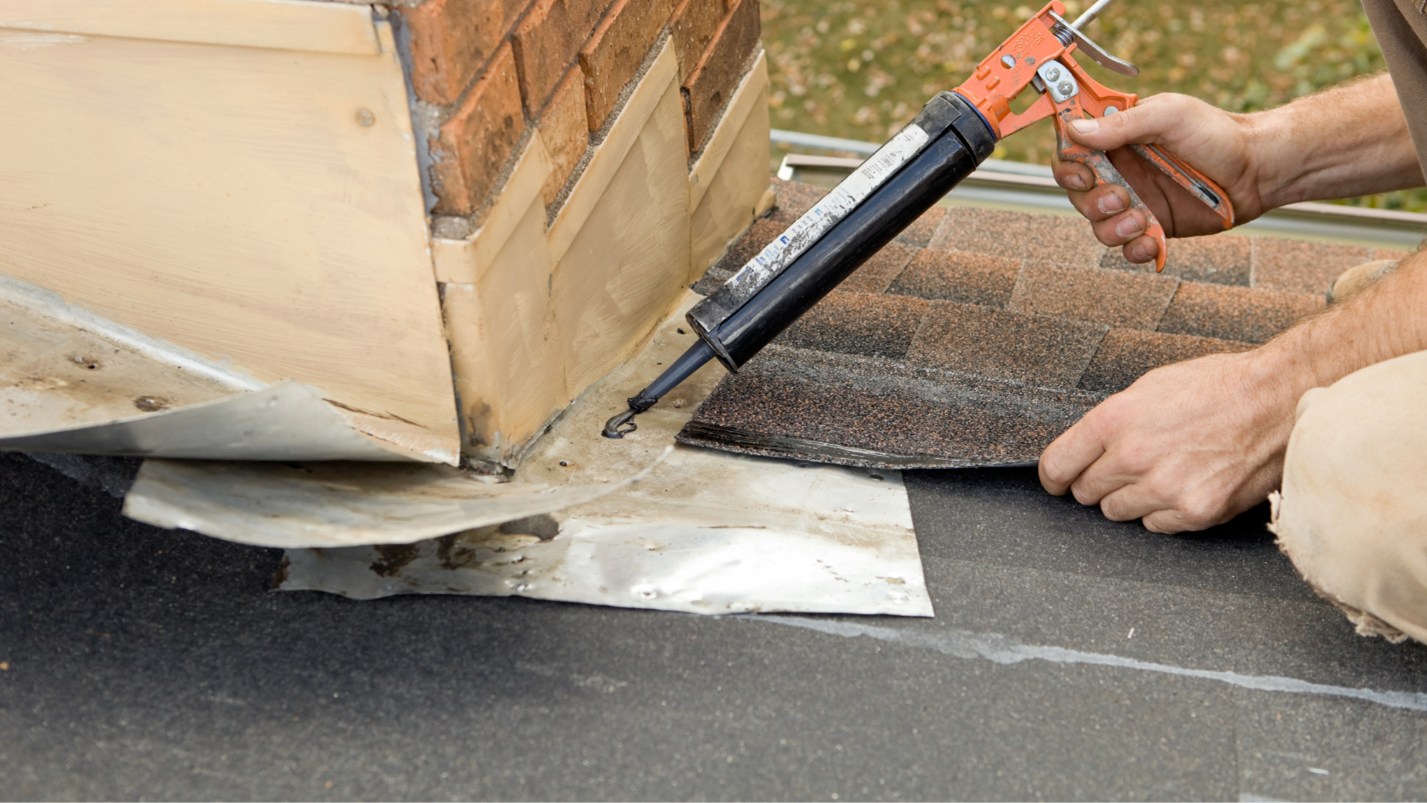
Begin securing the flashing to the roof. As a leading roofing contractor in Des Moines, we recommend laying down some hi-temp silicone under the base to get a firm initial seal.
Are you looking for the best roofer in Des Moines?
Contact Robison Roofing today!
Step 5:
Start nailing down the flashing with the proper nails. One 8 or 10-penny nail every four inches is adequate, just stay at least a ½” from the flashing’s outer edge.
Step 6:
Once all the nails are inserted, apply silicone to the top of each nail head. An experienced roofing contractor in Des Moines knows that this important step will help prevent any water leaks down the road.
Robison Roofing, The Premier Roofing Contractor in Des Moines
Step 7:
This is where we are ready to install the storm collar. The storm collar will wrap around the chimney pipe and lock in place. This will deflect water from traveling down the pipe and underneath the flashing.
Step 8:
To end the installation, make sure you have plenty of silicone on hand. You’ll need to apply a generous amount of silicone around the top of the storm collar and all the way around the pipe. This is another preventative measure to keep out as much moisture as possible.
At Robison Roofing, we are your trusted source for commercial roof repair in Des Moines. We provide fast and professional service for every kind of roof. Our team of professionals is here to service your roof from start to finish; we even provide residential roof repair in Des Moines.
For a free estimate on your next project, call us at 515-882-2200.
Robison Roofing is committed to providing you with the best options for your roof system and design. As a leading roofing company in Des Moines, we approach every roofing project with a focus on functionality, cost, and aesthetics. Each project is handled with unique perspective and integrity. Ingenuity and an eye for solutions make Robison Roofing the obvious choice for residential, agricultural, commercial, and industrial roofing systems in Des Moines.


Leave A Comment